Part 5 (Running the Model)
We’ll now add some code to actually run the model and overlay the detections on the image.
And in your python ImageDetectorStage method, let’s add to the handle_image method:
def handle_image(self, image):
    # convert image into opencv -- it's encoded as JPEG right now because that's faster
    # for comms back/forth to the pipeline
    cv_image = cv2.imdecode(np.frombuffer(image.data, dtype=np.uint8), cv2.IMREAD_COLOR)

    # Make a copy of the image before conversion, for the overlay
    original_image = cv_image.copy()

    # Convert image to RGB order (we know its BGR from our log)
    cv_image = cv2.cvtColor(cv_image, cv2.COLOR_BGR2RGB)

    # Transpose it now for the model
    cv_image = cv_image.transpose((2, 0, 1))

    # Add in a batch dimension and scale pixel intensities to range [0, 1]
    cv_image = np.expand_dims(cv_image, axis=0)
    cv_image = cv_image / 255.0
    tensor_image = torch.FloatTensor(cv_image)

    # Send it to the device, and then run detection on it
    device_image = tensor_image.to(self.device)
    detections = self.model(device_image)[0]

    # Let's now overlay rectangles for all of the targets that we detected.
    for index in range(0, len(detections['boxes'])):
        # If confidence is low, ignore it
        confidence = detections['scores'][index]

        if confidence < 0.6:
            continue

        # Compute the box of where we think this object is
        box = detections['boxes'][index].detach().cpu().numpy()
        (left, top, right, bottom) = box.astype(int)

        # Draw the bounding box on the image
        cv2.rectangle(original_image, (left, top), (right, bottom), (255, 0, 0), 2)

    # Now let's publish a new image out so we can see it in the gui
    # we encode it as jpeg because (sigh) the Python websocket implementation
    # is slow -- this will be addressed in future Ark releases.
    output = Image()
    output.width = image.width
    output.height = image.height
    output.data_format = ImageDataFormat.Jpeg.value
    output.sequence_number = image.sequence_number
    output.capture_time_ns = image.capture_time_ns
    output.data = cv2.imencode('.jpg', original_image)[1].tobytes()

    self.image_publisher.push(output)
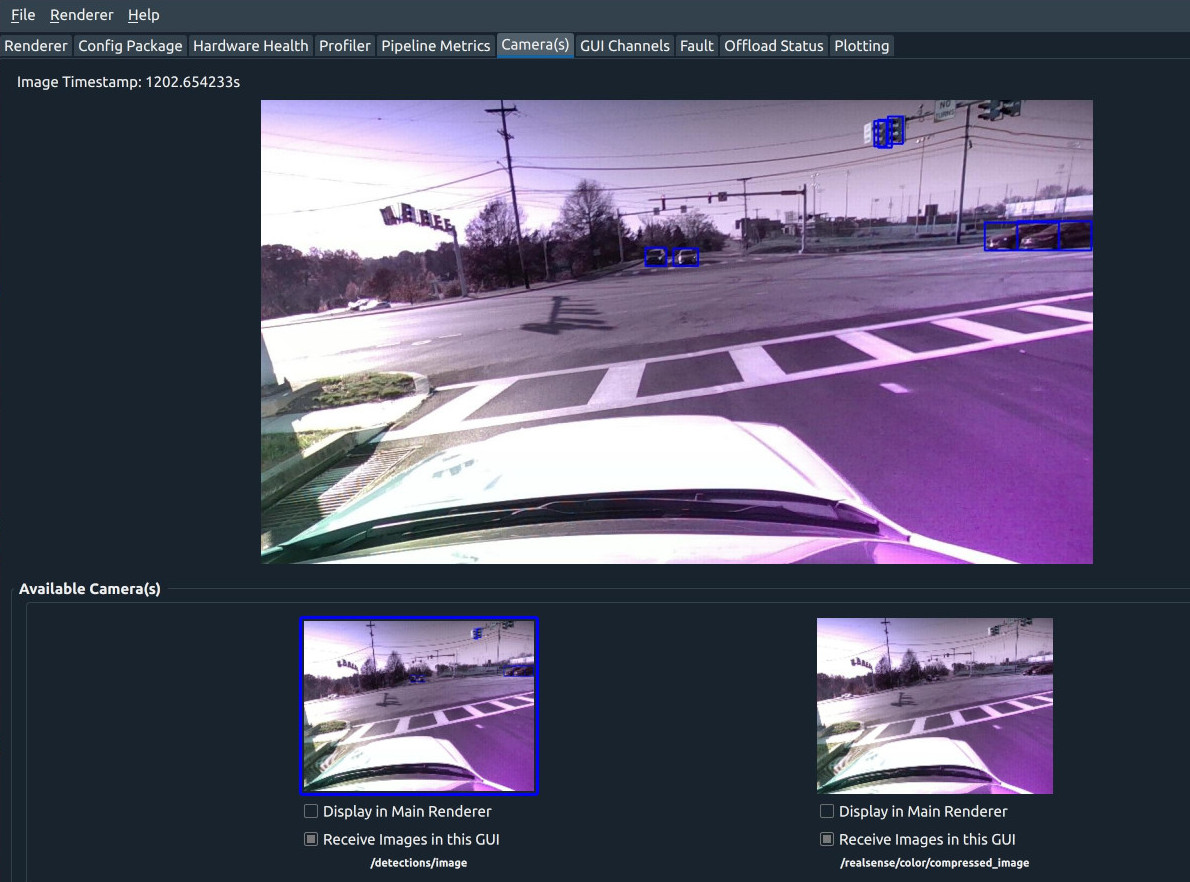
At this point, if you run the pipeline and attach a GUI, you should see both the original camera image and the image with detections in the ‘Camera Plugin’.
An example image might look like:
At this point you can do things like display the label class, add unique colors, or other fun things that are easy to do in the Python ecosystem.